
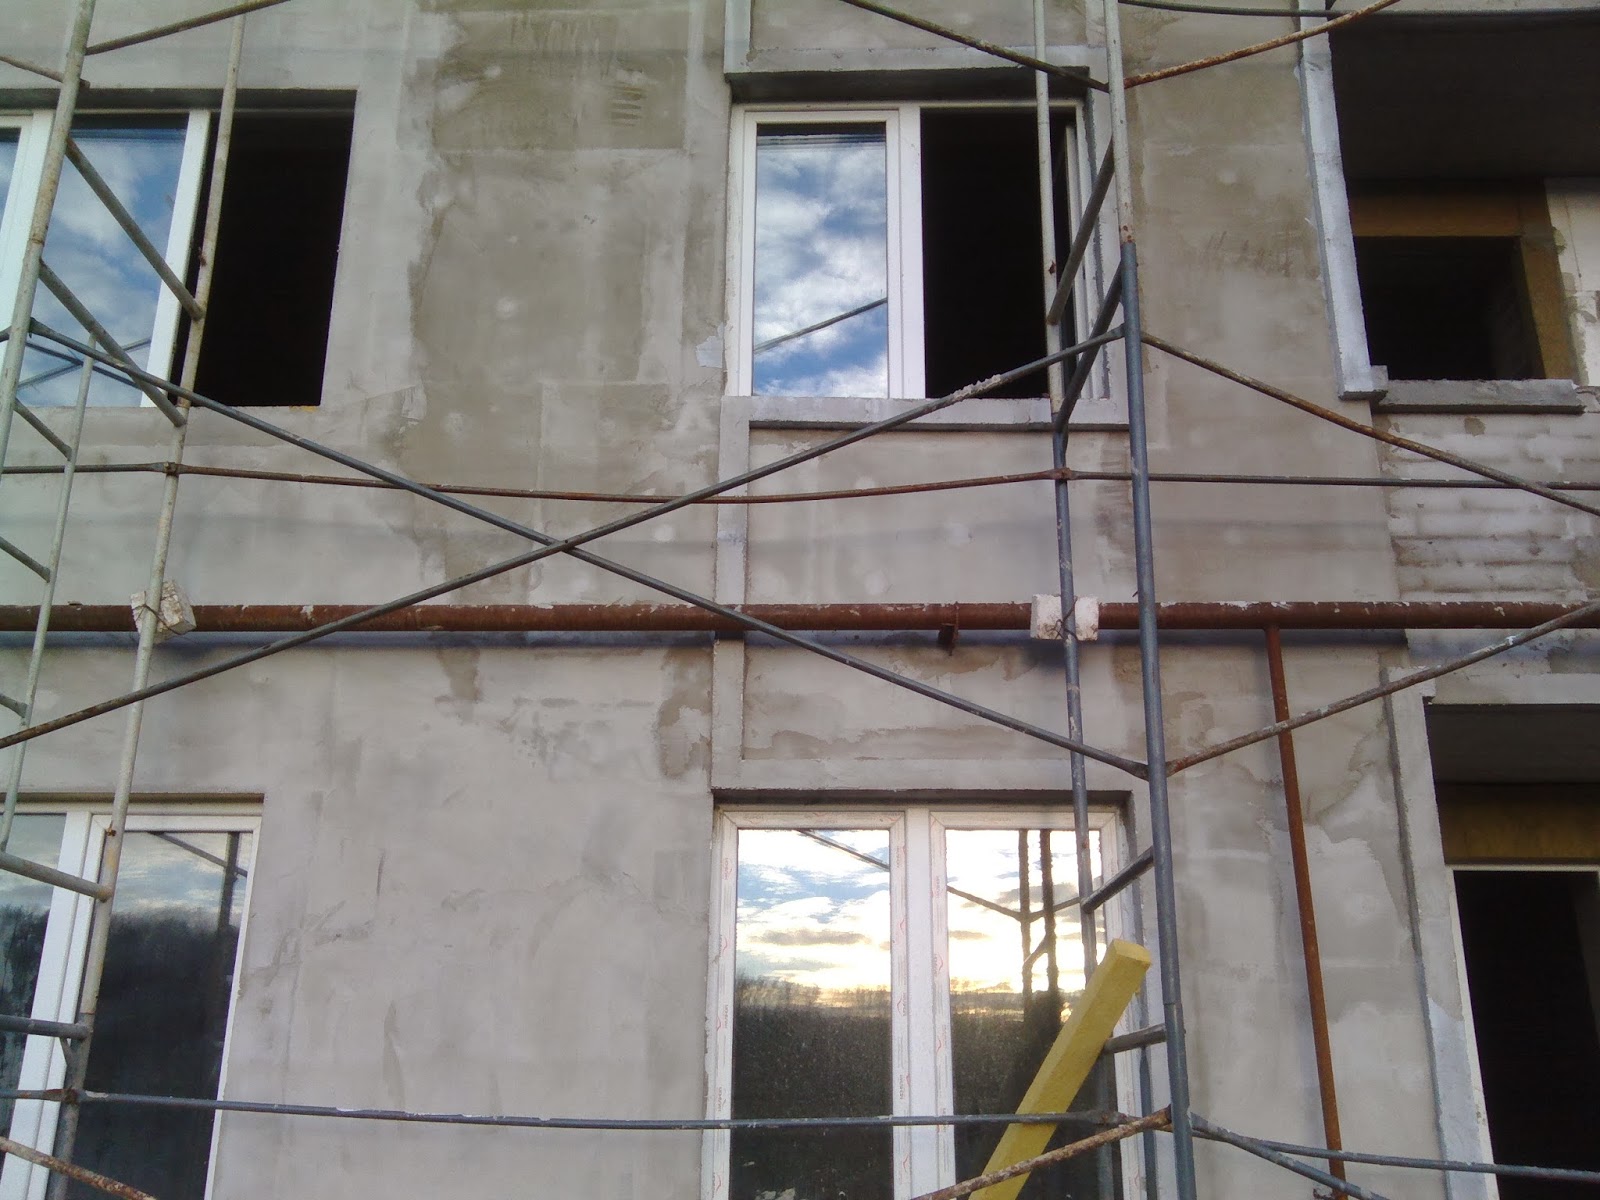
In the beginning , we use a heater as it can go and styrofoam. The size of the foam depends on the heat of your zdaniya.Standartnaya width rekamendovanna foam which is 100 mm . Of course there are also 50 mm, but it will not give prokticheski no heat is not shumovibroezalyatsiyu .
And here we go , we need to drill , hammer, nails babachkami 200 mm , mixer , trowel, a couple of buckets , saw, lace . Later still need those spatula , plastic corners , mesh plastering , Stationery knife , tin snips 100 mm of glass wool , well, the most important thing foam .
In the first step we glue penoplat to cook some of the corners of the house, and then also on the second uglu.Notyagivaem lace , so that the bottom was flat and not wavy . And on a shoestring pass the first row of insulation , fasten it with glue dots on napyat you prikleete on the wall and the front side of a five- point 200 mm nails with babachkami . Separate the cap, then to his sheathe Ornamental stone , natural or wild stone . All of your choice . Next we prikleyali the first row , you can start the second, and so forth, but it seams foam should not fall on top of each other. And of course , on perkratiya plates around okushek best stklovatu attach high prosnostyu to 100% did not enter your home in the winter cold air .
How obkleyali up and keep all the proportions necessary to proceed to the sealing of the building. It makes no dry mixes , can sealer for the facade , but the best tile adhesive !

And so the second step is to stick the corners to the corners of the building, and so on okoshok Next svaerhu these ugolklov , fasten plaster mesh and apply the glue. Why corners should be left on the grid ? Because stretch the mesh and not give into the far corner of the deformed plasmasovomu or worse upast.Kak it all finished and applied to the building of the first layer of putty, you can do proistupit patterns. The patterns are also made of foam , what do you want from a simple line to what ever image. Patterns also fasten to the glue and nails for strength. And he put on a dry mix which proshpaklvali your building .

Getting to the third stage . The third stage okonchatilny , it gruntuem we finished our area , and 24 hours start to put karoed . For the application of bark you need a large (300 mm) and medium (100 mm ) Painting spatula for application of the material , as well as a plastic trowel to create a picture . You can still use the more expensive Venetian trowel to increase the quality of the applied coating bark beetle . Also, you have to have a bucket of warm water and a piece of cloth - during the operation on a spatula and trowel will stick bark beetle , which will lead to scratches on the finished surface of the material and sticking to the tool. When applied to the dry bark should be diluted with water in the container ( for each firm different proportions ), the components to be mixed thoroughly with an electric drill with a nozzle . When applied to the finished bark , every bank must be thoroughly mixed using a drill to avoid heterogeneity coverage is necessary to mix the remaining half of the bark beetle and a half of new banks .
On the bottom right corner of imposing average spatula on a large piece of material and put on the wall , trying to keep an even layer with no gaps . It is better to apply pitted together - one does and the other with a Venetian trowel or spatula smoothes paint layer of bark (the ideal thickness of the amount of bark chips napr.2mm . ) . After a period of 5 to 30 min. , When applied material slightly zavetritsya (you can see a side - wall does not look shiny ), you can begin to create the pattern. To do this, gently presses the plastic trowel flat on the bark beetles and begin to overwrite - in vertical picture up and down in a circular figure - chaotic in a circular motion , with a cruciform figure - first long vertical movement, then the horizontal short. If one person does , in the absence of practice can be applied to small areas of non-overlapping irregular staggered. Then go through the uncovered area in reverse blocking inflicted areas . After a complete application the wall, but no later than 40 minutes you can walk across the surface of a clear plastic trowel for the final shaping and smoothing the image.
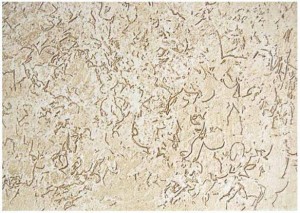
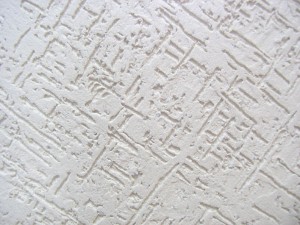
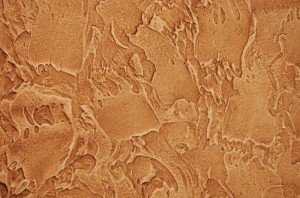 kinds of patterns
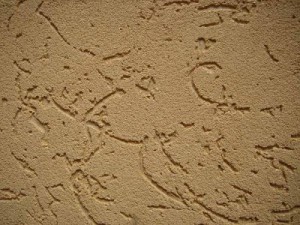
Before applying Bark ambient temperature shall be not less than 5 and not more than 30 C. We can not work on the facade of the summer under the direct sun or in the rain. Also , make sure that the wall is dry before applying the bark , has no hidden voids otshpaklevany and primed in the color of the bark beetle . Plaster bark beetle in the bank should not be over-dry it can add 10 % water to the extent of making thick. When applied to the bark beetle fallen material may not be re-used . In forming the pattern formed plastic trowel place with little apparent pattern or with very intense, because it is difficult to withstand the same layer over a large area . To align the image with a spatula remove the material from places with a light pattern and add a place with very pronounced , while erasing these sections plastic trowel . To avoid the formation of joints , you need to be able to calculate the forces and the number of master finishers . If you understand that without the joint fails to make the ragged edge of the fabric and indirect , you can also use masking tape , taped it on the joint . And of course the painting, take a special paint for facades and color to your vybor

отличный познавательный материал.очень заинтересовало!спасибо
ReplyDeleteA variety of options is amazing.
ReplyDeleteIn the first step we glue penoplat to cook some of the corners of the house, and then also on the second uglu.Notyagivaem lace
ReplyDeleteВсе подробно , понятно и доступно рассказано и показано. Спасибо.
ReplyDeleteВсе правильно и понятно изложено
ReplyDeleteПознавательный материал! спасибо за информацию.
ReplyDeleteИнтересная статья, с полезной информацией
ReplyDelete